
Si bien el prelanzamiento se ha comparado bastante con Zelda, la estructura de Pokemon Legends: Arceus en realidad tiene más en común con Monster Hunter que con Breath of the Wild. Una de las mayores similitudes con esa serie se presenta en la forma de tus refugios seguros vitales: Base Camps.
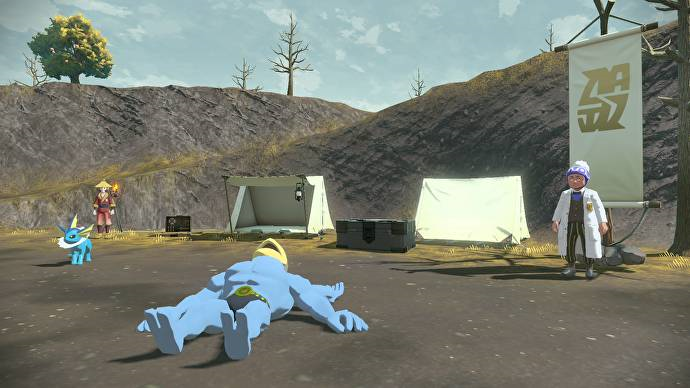
Los campamentos base son una parte muy importante de la experiencia en Pokemon Legends: Arceus. Son básicamente tus refugios seguros en las múltiples zonas de mundo abierto que componen el juego, y tienen una funcionalidad enorme. Puedes usarlos para curar a tu Pokémon, intercambiar tu equipo de Pokémon, almacenar o recuperar artículos en tu caja de artículos, cambiar la hora del día o entregar tu investigación.
Ver en YouTube
También hay una tienda rápida de artículos, y estas bases suelen ser un centro para misiones secundarias, lo que significa que desbloquear nuevos campamentos conduce a nuevas misiones. Finalmente, actúan como puntos de viaje rápido, lo que significa que puede usar el mapa para volver a ellos con solo unos pocos clics.
Cada una de las cinco áreas principales de mundo abierto del juego tendrá un campamento cuando lo desbloquees por primera vez. Desbloquearás el segundo campamento base para Obsidian Fieldlands automáticamente, pero luego las otras cuatro áreas te quedan para encontrarte a ti mismo.
En cada caso, puede acceder al segundo campamento en cada área encontrando un NPC específico y completando una misión secundaria particular. Estas son las misiones a las que debes estar atento para desbloquear más campamentos:
- Mireland carmesí
- Cobalt Coastlands
- Coronet Highlands
- Alabaster Icelands
How to unlock the Crimson Mirelands 2nd Base Camp
In the Crimson Mirelands zone, you’ll need to keep an eye out for Quest 31 – Setting up the Bogbound Camp.
This quest is given by Odo, who appears out in the Mirelands as you explore towards the next story objective. He’s marked on the map with a new quest icon once he’s ready for you. The quest itself is pretty straightforward – you simply need to follow him to the planned location for the camp.
At the camp’s intended location, you’ll need to battle some Pokemon to clear it out. You can clean knock them out, or even better, you can catch them towards your research. With that done, the camp will be established for your future use.
How to unlock the Cobalt Coastlands 2nd Base Camp

Over in the water-bound Cobalt Coastlands, you’ll be able to unlock a second base camp in the south-eastern area of the map, where a giant hand of earth reaches out into the oceans. This is Quest 46 – Setting up the Coastlands Camp.
You’ll probably first encounter the quest NPC Gully as you head towards Deadwood Haunt, at a narrow passageway you must pass. You have to find a missing NPC in order to get the camp set up.
To find the NPC, head out to that hand shape that stretches into the ocean – tendrils of land that reach into the sea. On the end of one of these in the far bottom-right of the map is Yorrich. Chat to him, defeat or catch the Pokemon bothering him, and the camp gets established.
How to unlock the Coronet Highlands 2nd Base Camp
It’s worth noting here that the Coronet Highlands is unique in that it has three total base camps, not two – the starting one, your expansion unlocked via a quest, and a third unlocked as the story progresses. The camp you have to actively unlock is tied to Quest 65 – Setting up the Mountain Camp.
You’ll come across camp-crucial quest NPC Eshim as you work your way through the highlands – he’s right in the critical path for certain story missions. Like back in the Crimson Mirelands, the main thing in the way of setting up a camp is Pokemon – in this instance, a Bronzor.
Talk to the Bronzor, then follow it across to the other side of the River. Talk to it there and solve the problem; then Eshim gets the base camp running for you.
How to unlock the Alabaster Icelands 2nd Base Camp
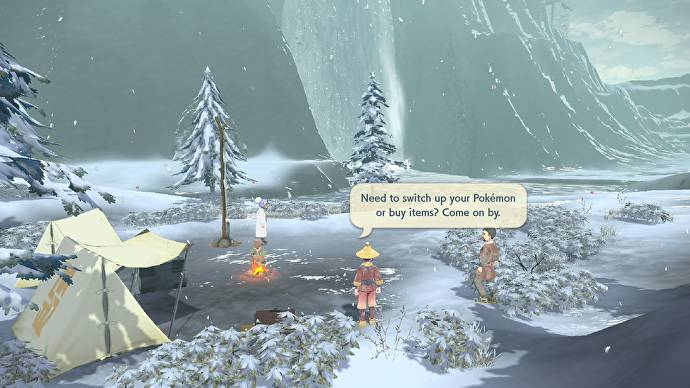
Probably the most essential second camp of all due to the layout of the Alabaster Icelands, you’ll find the NPC you need, Brice, at the base of the Waterfall that’s quite prominent in the north of the map, feeding out of Lake Acuity.
Brice has lost his friend. Thankfully he’s not far – they’ve just crossed wires and gone to the wrong sides of the river. Go to the other side of the river and tell Craig, his buddy, then report back to Brice. Once they’re reunited, the Icepeak Camp is set up for you to use.
If you’re after more Pokemon Legends: Arceus guides, such as how to evolve, how to changes moves, how to learn moves, which is the best starter Pokemon, how to upgrade your Satchel space or which types are super-effective against which other types, click on the links to learn everything you need to know.